Link datasets together to build online systems.
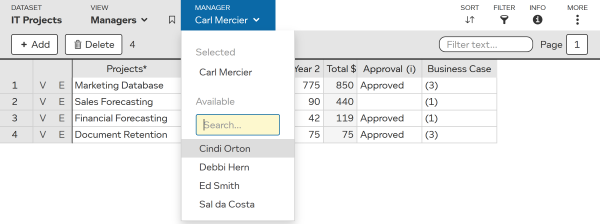
Selectors help users focus on a subset of data within a view.
Here a selector on “Manager” makes it easy for you to focus on projects managed by one project manager at a time. You can use the dropdown to switch to projects managed by another manager.
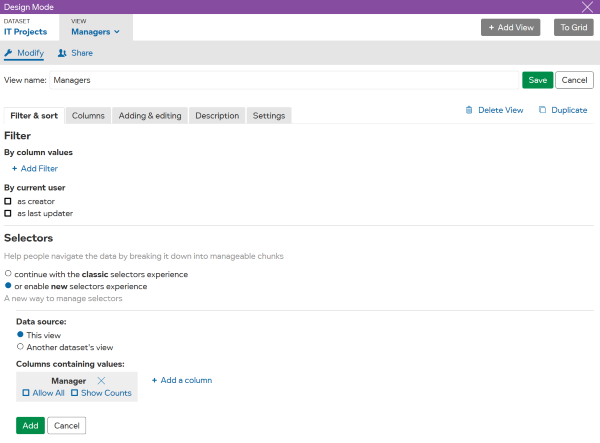
To add/modify selectors you will need account admin access, so you use can design mode.
To create a selector:
You can click on New selector to create more selectors.
In the example below, two selectors are being added, for columns:

TIP Use to re-order how selectors are displayed.
| Setting | Description |
|---|---|
| Allow all | Include the special value [all].A user selecting [all] shows every entry. |
| Show Counts | Shows the number of matching entries. |
TIP Without “Allow all” users are forced to only see entries based on one value at any time. Check “Allow all” to give them the choice to see everything together.
You can also configure a selector to be read-only. So that when a value has been chosen for a selector, the column will be shown with a grey background and the values in this column cannot be changed.
To set this option: