Edit data and create datasets you can share.
You can add more columns to define access across more “dimensions”. You could have a 2-dimensional matrix where people have different roles and access to different departments like this:
| Input | Manager | |
|---|---|---|
| Sales | John | |
| Marketing | Jane | Jane, Sue |
| Finance | Sue |
In this example, only managers can approve requests and they can only approve requests for the departments they manage.
Let’s go through the steps for how to set this up in LiveDataset.
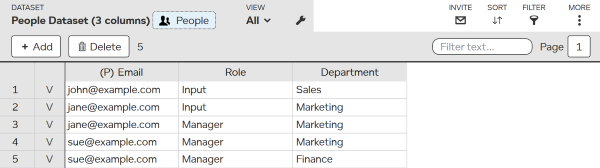
Step 1: Create a people dataset to define the permissions with columns for role and department like this:
Step 2: Add a Manager view where: Role is Manager.
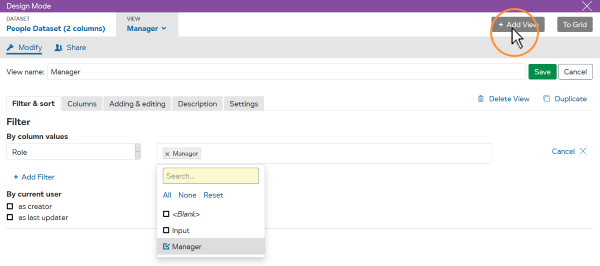
Creating the Manager view in the people dataset means that “Manager” will become available as a group when using this people dataset to define permissions.
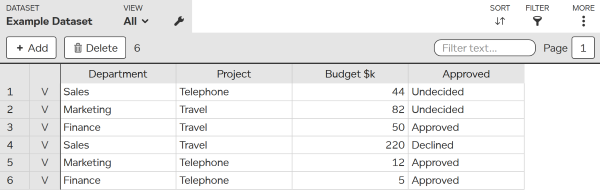
Step 3: Create a dataset with some data requiring approval like this:
Step 4: In this dataset, create an Approval view that allows the Approved column to be edited.
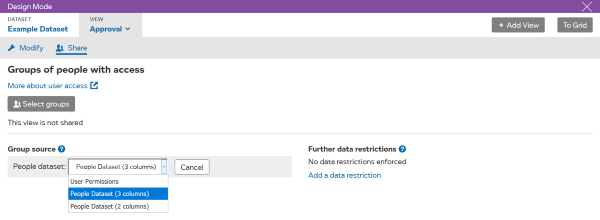
Step 5: Set this Approval view to refer to the people dataset for defining permissions. Press MORE then Share view . Under “Group source”, select the people dataset.
Step 6: Press and select “Manager” as the group to receive access.
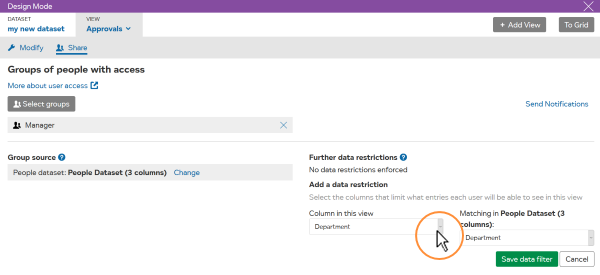
Step 7: Limit access to just the manager’s department data, by adding a constraint that the department in the dataset entry must match the department in the people dataset.
To do this
To recap these steps:
Simpler examples of people datasets: